Going Live with GoHavi
From zero to full automation. Follow this checklist to launch your "Autonomous Growth Engine".
🚀 Quick Start Summary
- Prepare Meta Assets (Business Manager + Phone Number)
- Complete Embedded Signup (Connect WhatsApp)
- Configure your "Brain" (Knowledge Base)
- Invite your Team
- Switch on the Traffic
1. Prerequisites
Before you log in, ensure you have these three things ready:
- Facebook Business Manager: You must have Admin access to your company's Business Manager.
- A Dedicated Phone Number: This number CANNOT be currently active on any personal or business WhatsApp app. If it is, delete the account from the app first.
- Payment Method: A valid credit card added to your Meta Business Manager for WhatsApp conversation charges.
Critical: If you use your personal number, you will lose your
chat history. We recommend buying a new SIM or virtual number specifically for
this API.
2. Account & Organization Setup
Your "Tenant" is your digital HQ. Let's set it up correctly.
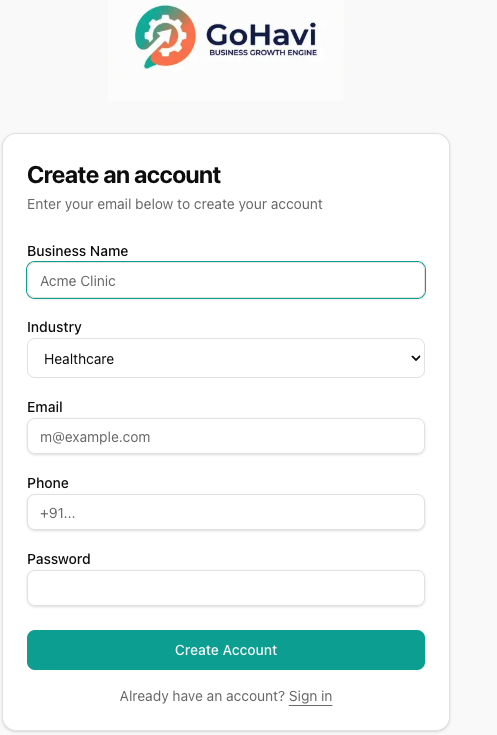
Secure Login Portal
- Register: Sign up at app.gohavi.com using your corporate email.
- Business Profile: detailed industry information helps our AI pre-configure your bot persona.
- Timezone: Set your operating timezone carefully; this dictates your "Business Hours" logic.
3. The "Embedded Signup" (Meta Connection)
This is the magic step where we link your number to the WhatsApp Business API.
- Go to Settings > Integrations.
- Click "Connect with Facebook".
- A popup window will open. Log in with your FB credentials.
- Select your Business Manager and WhatsApp Account (WABA).
- Verify your Number: Meta will send an SMS or call you with a 6-digit code.
- Once confirmed, the popup will close, and you should see "✅ Connected" in your dashboard.
4. Train Your "Brain" (Knowledge Base)
Your AI Agent needs to know who you are to answer questions effectively.
Minimum Viable Knowledge:
- Business Hours: "We are open Mon-Sat, 9 AM to 7 PM."
- Location: "We are located at [Address]. Here is the Google Maps link: [Link]."
- Services: List your core offerings and starting prices.
- Pricing/Offers: Current active discounts.
Navigate to AI Studio > Knowledge Base and add these as text snippets.
5. CRM Configuration
Prepare the Operations Console for your team.
- Staff Accounts: Go to Team > Invite. Add your sales agents and support staff. Assign roles (Manager vs. Agent).
- Pipeline Setup: Review the default statuses (NEW, CONTACTED, VISITED, WON). Customise strictly if necessary.
- Data Import: (Optional) Upload your existing CSV of leads to populate the database.
6. Testing ("Hello World")
Don't go live without a test run.
- Ask a colleague to send a WhatsApp message to your new API number.
- Check Live Feed: Does the message appear in the dashboard right sidebar?
- Check AI Response: Did the bot auto-reply correctly?
- Test Handover: Click "Take Over" in the Action Drawer and send a manual reply.
7. Go Live! 🟢
Once testing is passed, it's time to open the floodgates.
- QR Codes: Print your WhatsApp QR code for your storefront or flyers.
- Click-to-WhatsApp Ads: Connect your number to your Facebook/Instagram Ads Manager.